Making a book…from start to finish with handcrafted paper!

Step 1:
Make your handcrafted paper!
Ingredients list:
scrap paper of varying kinds (envelopes, junk mail, copy paper with mistakes, lol)
a large shallow container (large enough to fit the screen splatter)
a blender
2 screen spatter guards
one towel and one sheet
a sponge
water
and depending on what additives you’d like: food coloring to dye it, pressed flowers, colored food grade dust
- Gather bits of waste paper and tear into smallish shreds (6-8 pieces of paper/junk mail) per one sheet of handcrafted paper
- Place into blender (use one specifically for this purpose as the chemicals from the paper can leach into the blender)
- Pour hot water over paper and set timer for 10 minutes to allow paper to absorb the water and make it easier to blend.
- If you wish to add colorant to the paper, do so now…food coloring, turmeric, etc.

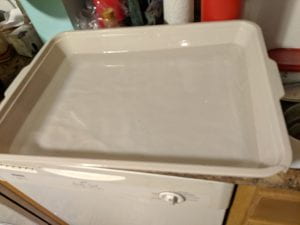
- While you’re waiting for the paper to soften, pour a few inches of water into your pan.
- When the timer goes off…Pulse blender several times to create pulp/slurry
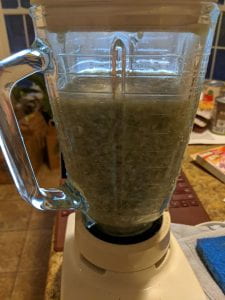
Slurry
- Add the pulpy slurry to the water in the pan and stir
- Dip the splatter guard into the pan and allow the mixture to coat the splatter guard. (You may need to attempt this several times at first to evenly cover the screen…ask me how I know, LOL
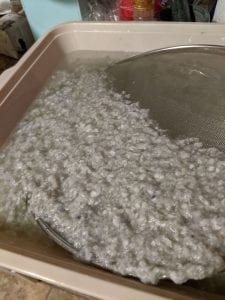
slurry mixture on screen
- Place the screen on a dry towel and cover with the second screen splatter guard.
- Press a dry sponge onto the screen to push the water out of the slurry mix on the screen and into the towel.
- Once you have done this a few times, carefully tip the damp slurry mixture on the splatter guard onto the dry sheet…gently tap the screen to release it.
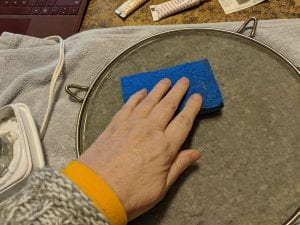
press the sponge to take out water
- (THIS STEP IS OPTIONAL: sprinkle food grade pearl dust onto the paper)

tap gently to release
- Leave to dry for several hours OR you could gently blow dry the paper with a hair dryer, this will take 30 or more minutes and will produce a curled edge, but you can iron it!

Finished paper
STEP 2
Text matters!
- Here is where you decide what to put for your text…I have horrible handwriting, so I have chosen to type my text out., otherwise, no one would be able to read my book!
- I have typed my text/printed it out (make sure it is going to fit on the pages of your book, you may need to adjust the formatting.
- When I clicked on PRINT > PAGE SETUP >… I PLACED BOTH THE LE
 FT AND RIGHT MARGINS AT 3
 - This allowed my text to be in the format needed to fit on the pages as well as go with the theme of the book.
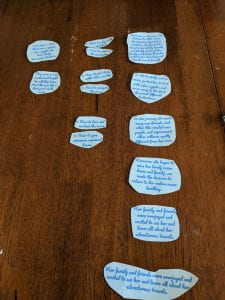
- Once the text is printed out, cut it to fit the size of your pages.
- Paste the printed text onto the hand crafted paper.
STEP 3
ILLUSTRATIONS!
Ok, so as well as not having good penmanship, …I cannot draw, stick figures look better than what I can put onto paper! So, what’s a book maker going to do???
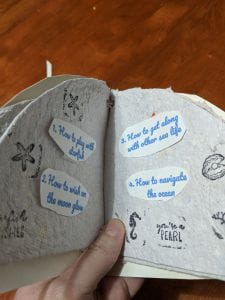
Thank God for STAMPS! Yes, I purchased some stamps and ink to go along with the theme of my book: mermaids and ocean life.
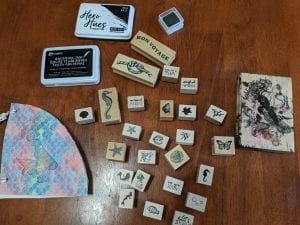
STAMPS AND INK

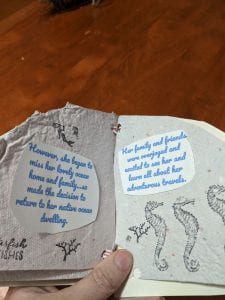
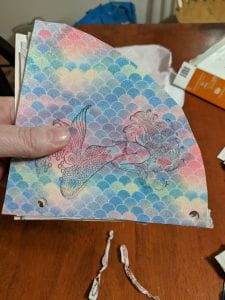
Illustrations/text 2
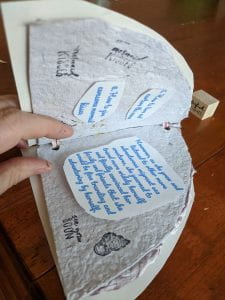
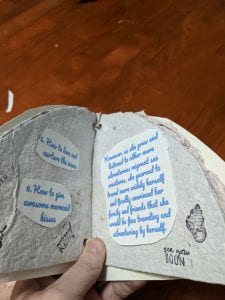
Illustrations/text 3

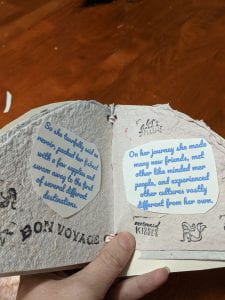
Illustrations/text 4
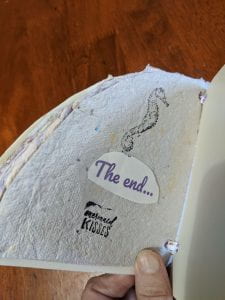
The end
STEP 4
Preparing to bind your book:
Materials needed:
hand crafted paper
scissors
card stock… at least 2 sheets…mistakes happen!
hole punch (you can either use a single or multiple one)
twist ties (at a minimum 1, but have more on hand in case you change your mind)
ruler (measure your hole distance so that they align correctly)
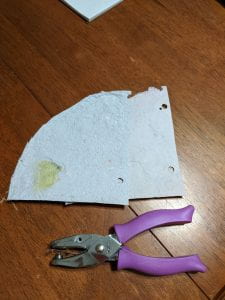
HOLE PUNCH
- Decide on what shape/size you want your book to be
- Cut the card stock to desired size
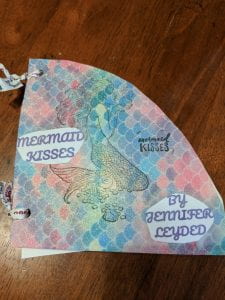
- Decorate the cover and write the title name and author.
- Measure the paper and cut accordingly
- At this point, depending on what you are doing with the cover, decorate it and write the title on it.
- Measure the card stock to ascertain where to place the hole punch and create the holes
- Measure the paper to place the hole punch and create holes
COVER
- Place the front and back cover onto the paper and align with the holes
- Push the twist tie through each hole and twist to create a tight bind repeat for as many holes as you have
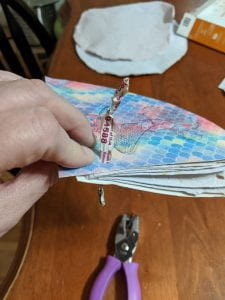
ADD TWIST TIES TO SECURE
STEP 5
READ AND ENJOY YOUR BOOK!